This website uses affiliate links. We may earn a small commission when you make a purchase through these links, at no extra cost to you. This helps us maintain and grow the site, providing you with valuable content. Rest assured that we only recommend products or services that we personally use or believe will add value to our readers.
How to Create GetResponse Account
Introduction:
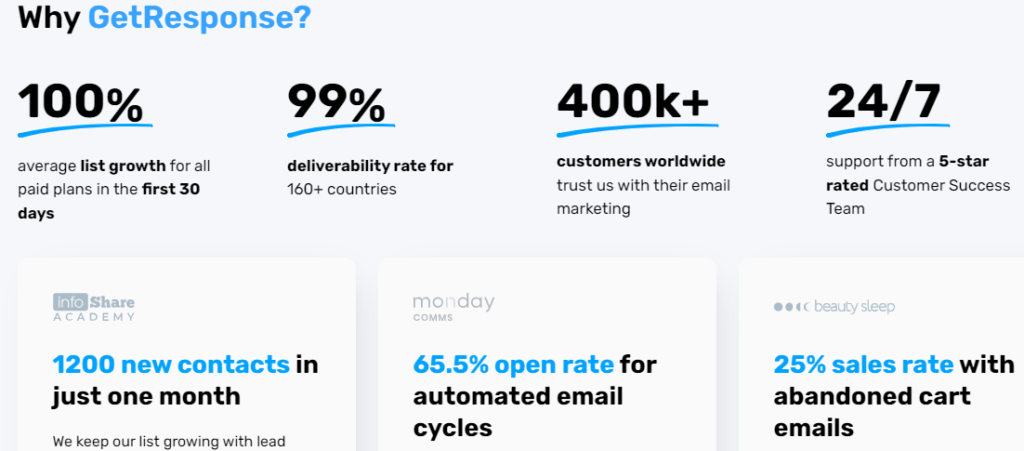
Welcome to the world of GetResponse, your gateway to powerful and effective email marketing! Whether you’re a small business owner, marketer, or entrepreneur, this step-by-step guide is designed to help beginners like you embark on a successful journey with GetResponse.
The best way to learn about any software is to create an account and access the Dashboard. A large percentage of information will be understood with minimal explanation when you practically navigate through the dashboard. Most companies do not provide access to their premium features if you do not subscribe. Fortunately enough, GetResponse provide 30 day free account to try all their premium feature without asking for any card details of payment information. That’s why I would recommend you take this advantage to exploit all these features by creating a free account with then.
Step 1: Visit the GetResponse Website
Visit GetResponse official website.

Step 2: Sign Up
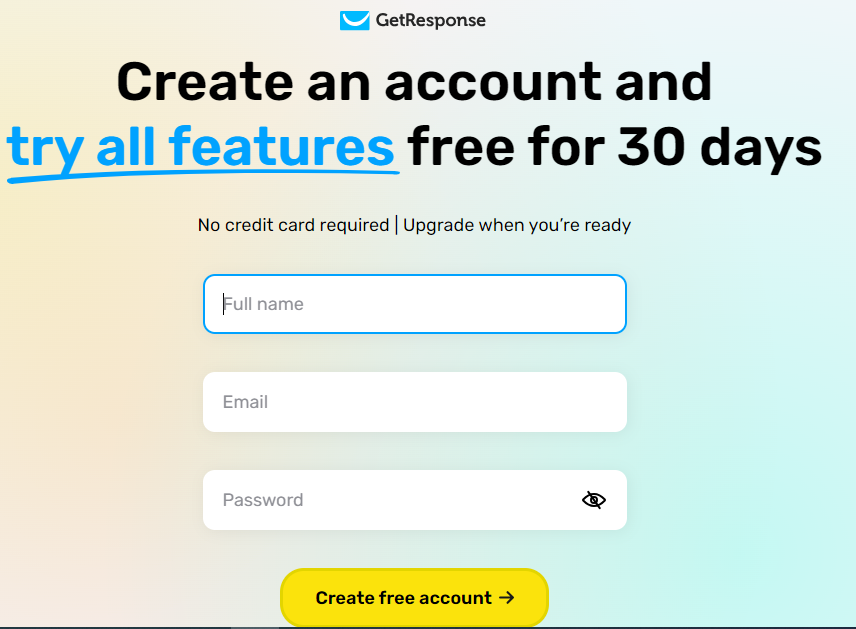
- On the GetResponse homepage , look for a “Sign Up Free” or “Create FREE account” button. Click on it.
- You’ll be redirected to the registration page. Here, you’ll need to provide the required information to create your account.
- Email Address: Enter a valid email address that you have access to, as GetResponse will send important information and account details to this email.
- Password: Create a strong and secure password for your account.
- After entering the necessary information, click on the “Create an Account” or similar button.
Step 3: Confirm Your Email
- Check your email inbox for a message from GetResponse. Open the email.
- In the email, you’ll typically find a confirmation link. Click on the link to verify your email address.
Step 4: Complete Your Profile
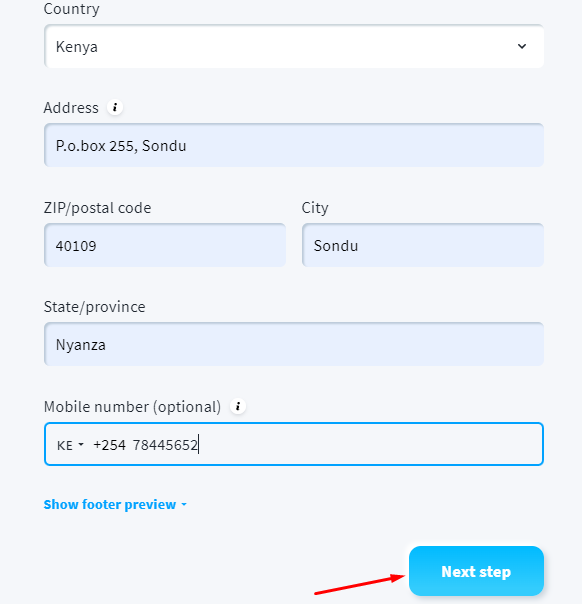
- After email confirmation, you’ll be prompted to complete your profile. This may include providing additional information about yourself or your business.
- Follow the on-screen instructions to fill out the necessary details. This step helps GetResponse tailor its services to your needs.
- Click on “Next step” as shown above.
Step 5: Explore the Dashboard
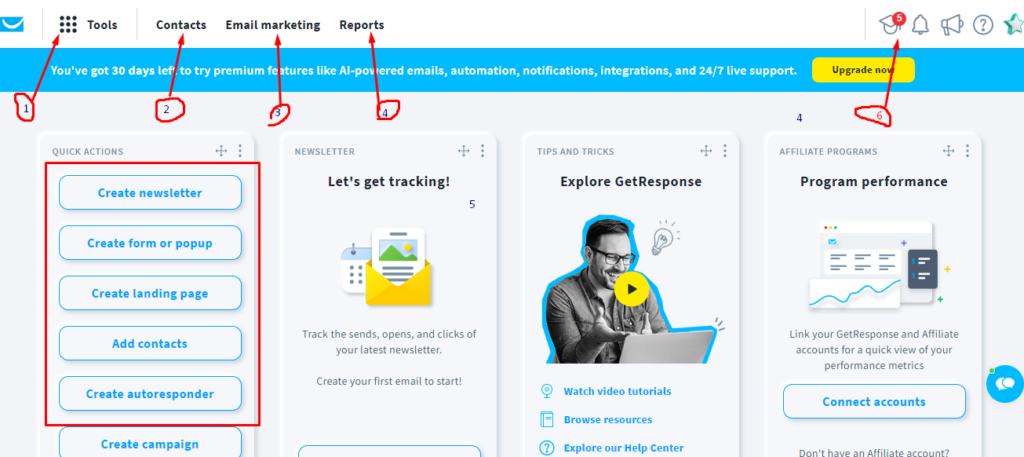
- Once your account is set up, log in to GetResponse using your email and password.
- Explore the dashboard to get familiar with the features and options. GetResponse offers tools for email marketing, automation, landing pages, and more.
Step 6: Set Up Your First Campaign
- Click on the relevant option (usually “Create Campaign” or “New Campaign“) to start setting up your first email marketing campaign.
- Follow the on-screen prompts to configure your campaign details, design your emails, and set up any automation sequences. GetResponse provides different email types, including newsletters, autoresponders, and more. Choose the type that best suits your campaign. Next, browse through a collection of professionally designed templates. Select a template that aligns with your brand and campaign goals.
- Once you’ve chosen a template, it’s time to make it your own. The intuitive drag-and-drop editor allows you to customize the template easily. Add or edit text, upload images, adjust colors, and personalize the content to resonate with your audience. Take advantage of the editor’s user-friendly interface to create a visually engaging layout.
- Navigate to the email settings section to define crucial elements. Craft an attention-grabbing subject line that encourages recipients to open your email. Specify the sender name and email address to establish trust with your audience. Additionally, consider adding a pre-header to give a sneak peek into the email content.
- Preview and Test Your Email: Before sending your email to your subscribers, it’s crucial to preview and test it. Use the preview feature to visualize how your email will appear on various devices. Send a test email to yourself to ensure that everything looks and functions as intended.
- Choose Sending Options: Decide when you want to send your email. You can either send it immediately or schedule it for a specific date and time. Scheduling allows you to reach your audience at the most optimal times for engagement.
- Review and Confirm: Before finalizing, conduct a thorough review of your email campaign. Check for any typos, broken links, or formatting issues. Confirm that all elements align with your campaign objectives and branding.
- Track Performance: Once your email is sent, head to the “Analytics” section to track its performance. Monitor key metrics such as open rates, click-through rates, and conversion rates. These insights will provide valuable data to refine and improve your future campaigns.
- Continuous Improvement: As you gain insights from your campaign analytics, use the information to continuously improve your email marketing strategy. Experiment with different elements, analyze results, and iterate on your campaigns for ongoing success.
Step 7: Integrate with Other Tools (Optional)
If you use other tools or platforms, you may want to integrate them with GetResponse. Common integrations include e-commerce platforms, CRM software, and social media.
Step 8: Explore Additional Features
GetResponse offers various features beyond email marketing. Explore features such as automation workflows, landing page creation, and analytics to make the most of the platform.
Congratulations! You’ve successfully created a GetResponse account and are ready to start your email marketing journey.